How to Draw Better Pin-Up Poses: Start With the Rib Cage & Pelvis
Oct 19, 2026
Hey peeps!
Have you ever finished drawing a Pin-Up, looked at it, and thought, "Something feels a little off… but I can't figure out what?"
Maybe the anatomy looks good, the proportions seem right, and you've spent a bunch of time working on all those fun little details. But somehow, the pose still feels stiff.
Well, I've got a few things I'd love for you to try!
When I start drawing my Pin-Ups, I usually begin with the rib cage. Then I connect the pelvis, start building the rest of the body, and that's where the magic begins!
Let me show you why these two simple shapes can make such a big difference.
1. Start with the rib cage and pelvis
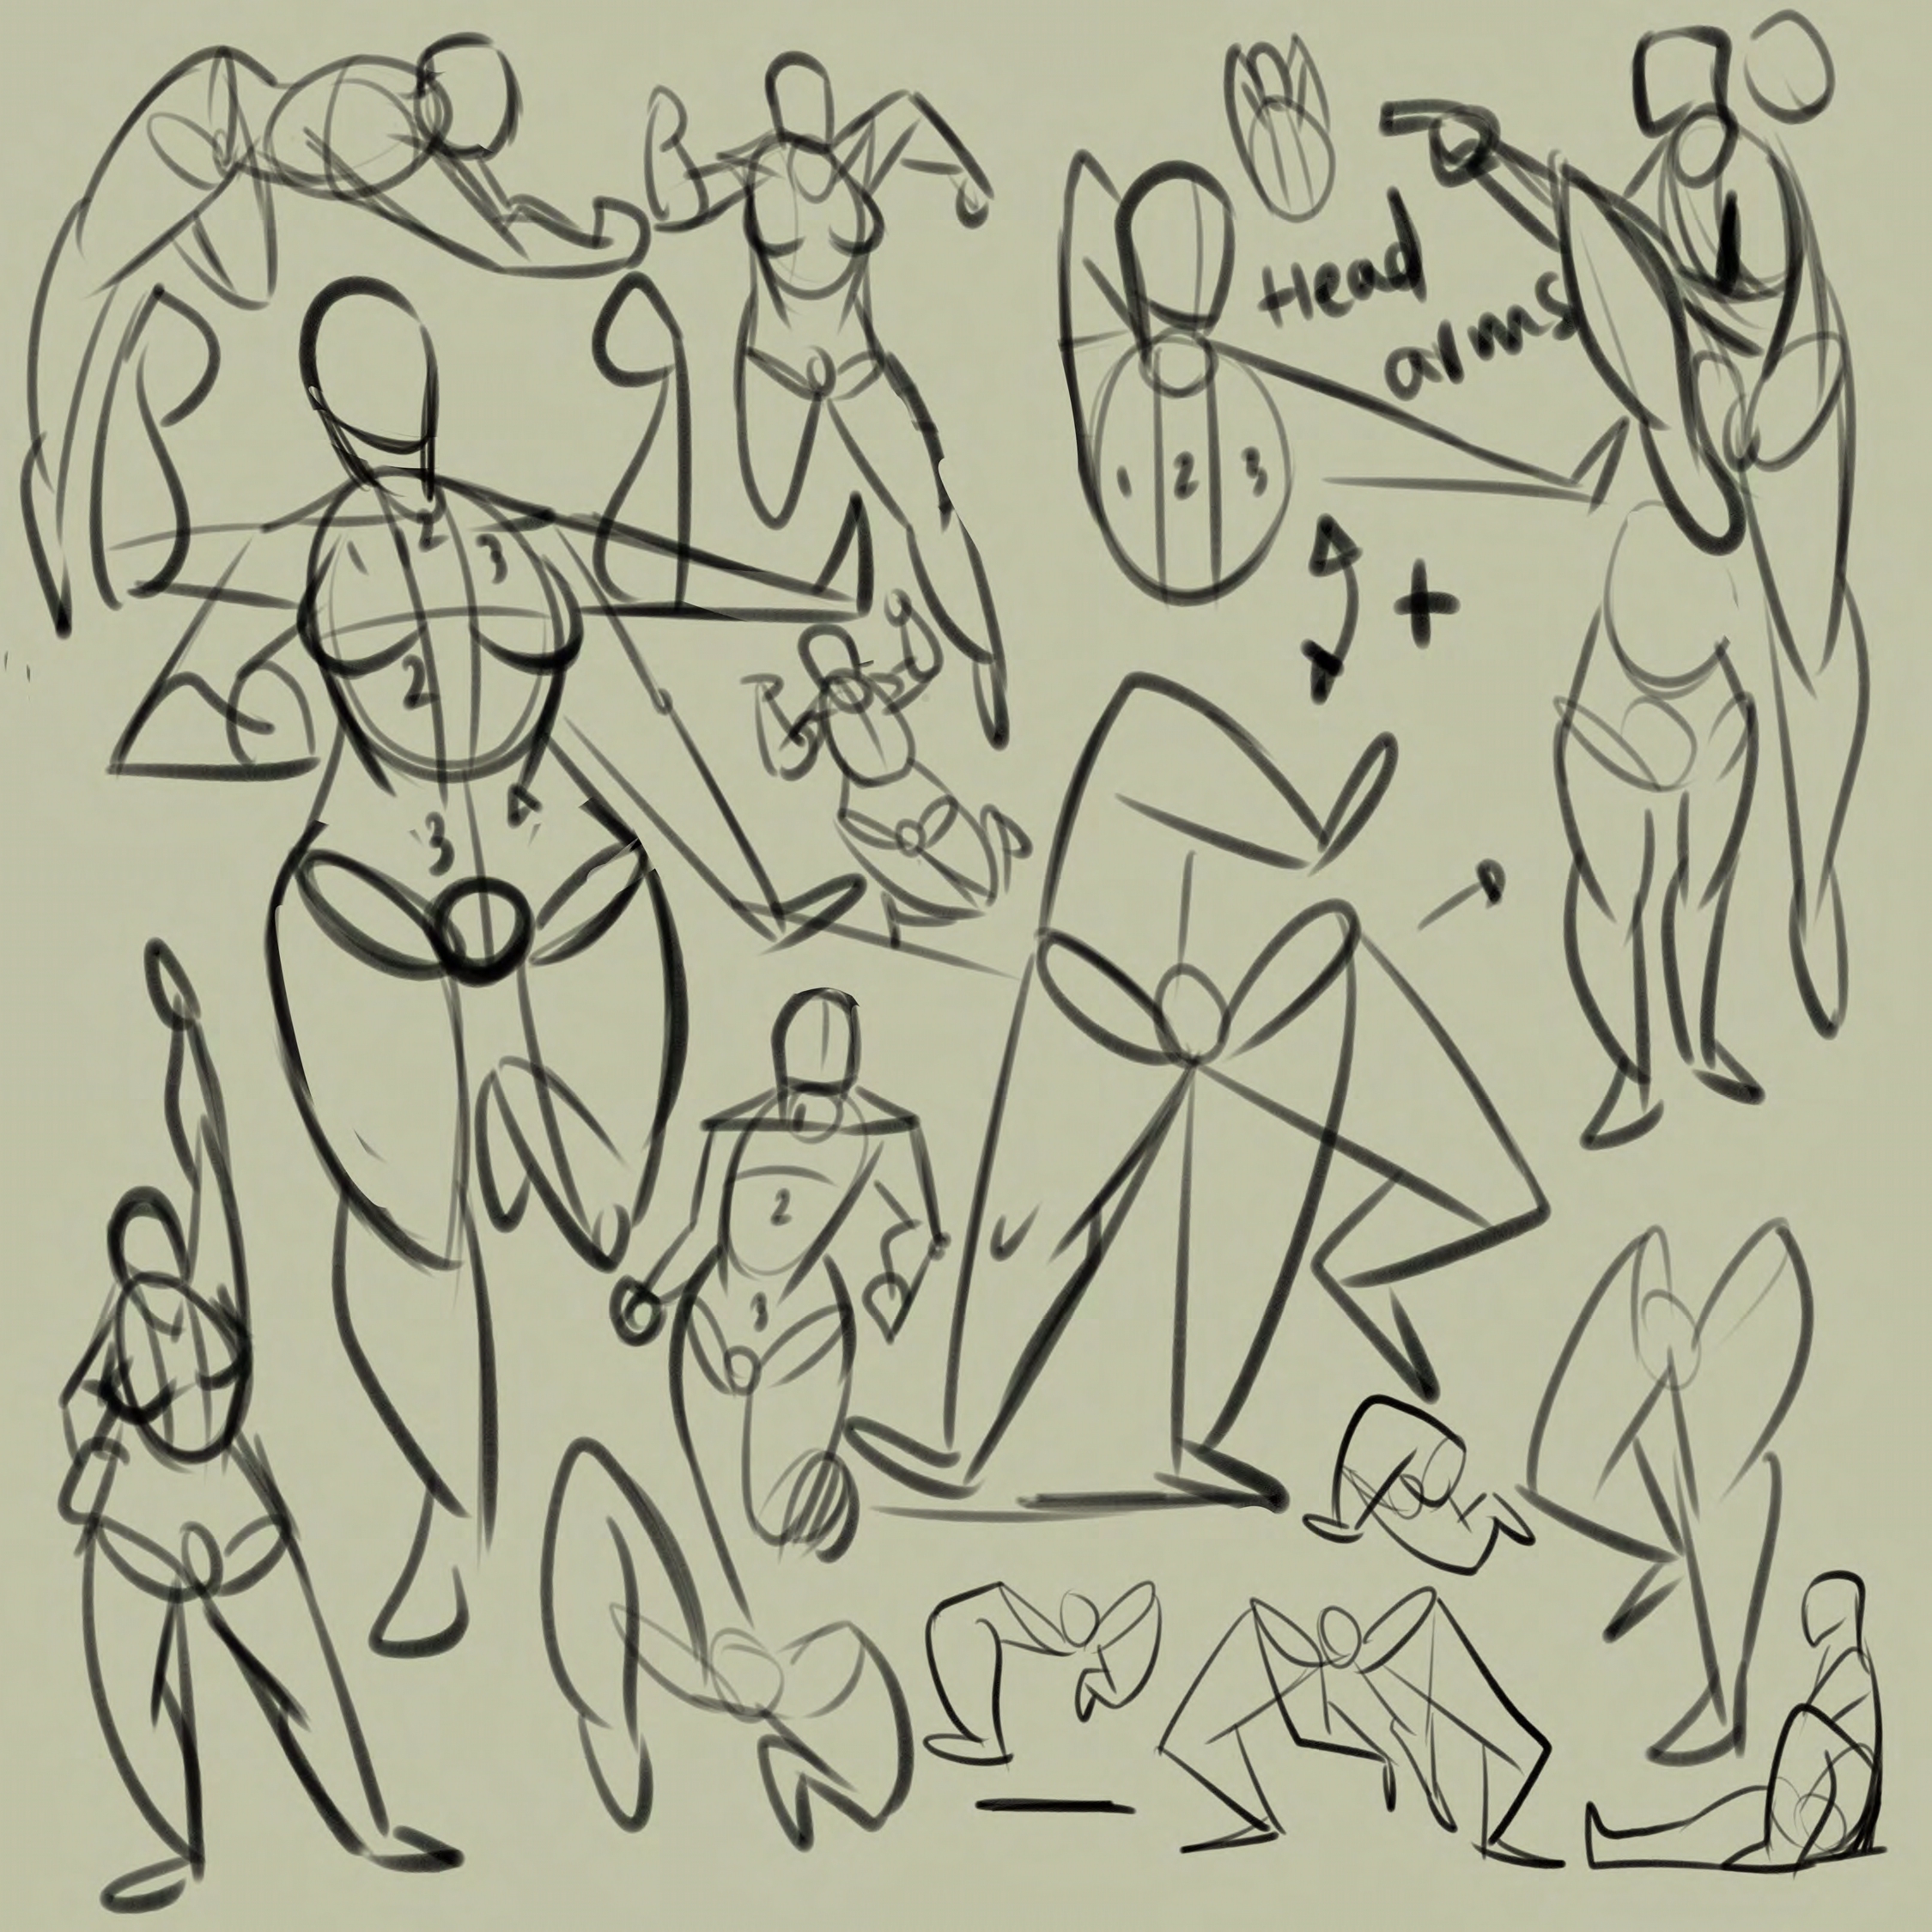
Before worrying about muscles or all those little anatomy details, I like to focus on the bigger forms of the body.
The rib cage helps me establish the direction of the upper torso, while the pelvis helps me understand what's happening with the hips and how the legs will connect.
And here's the fun part!
Both of these shapes can tilt, rotate, and move in different directions.
Try drawing a simple rib cage and pelvis. Now change the angle of one of them.
See how the pose starts to feel different?
You can create all kinds of interesting gestures just by experimenting with those two shapes!
2. Pay attention to what's happening between them
Here's something I always like to check when drawing the torso.
When a character bends or leans to one side, one side of the waist will often compress while the other stretches.
That little relationship can make a BIG difference in how your pose feels.
And when we're drawing Pin-Ups, we can have a lot of fun pushing those shapes!
Maybe the hips are tilted to one side, the rib cage is rotating slightly, or we're exaggerating the curve of the waist.
The more you understand how those forms connect, the more control you'll have when you start playing with the proportions.
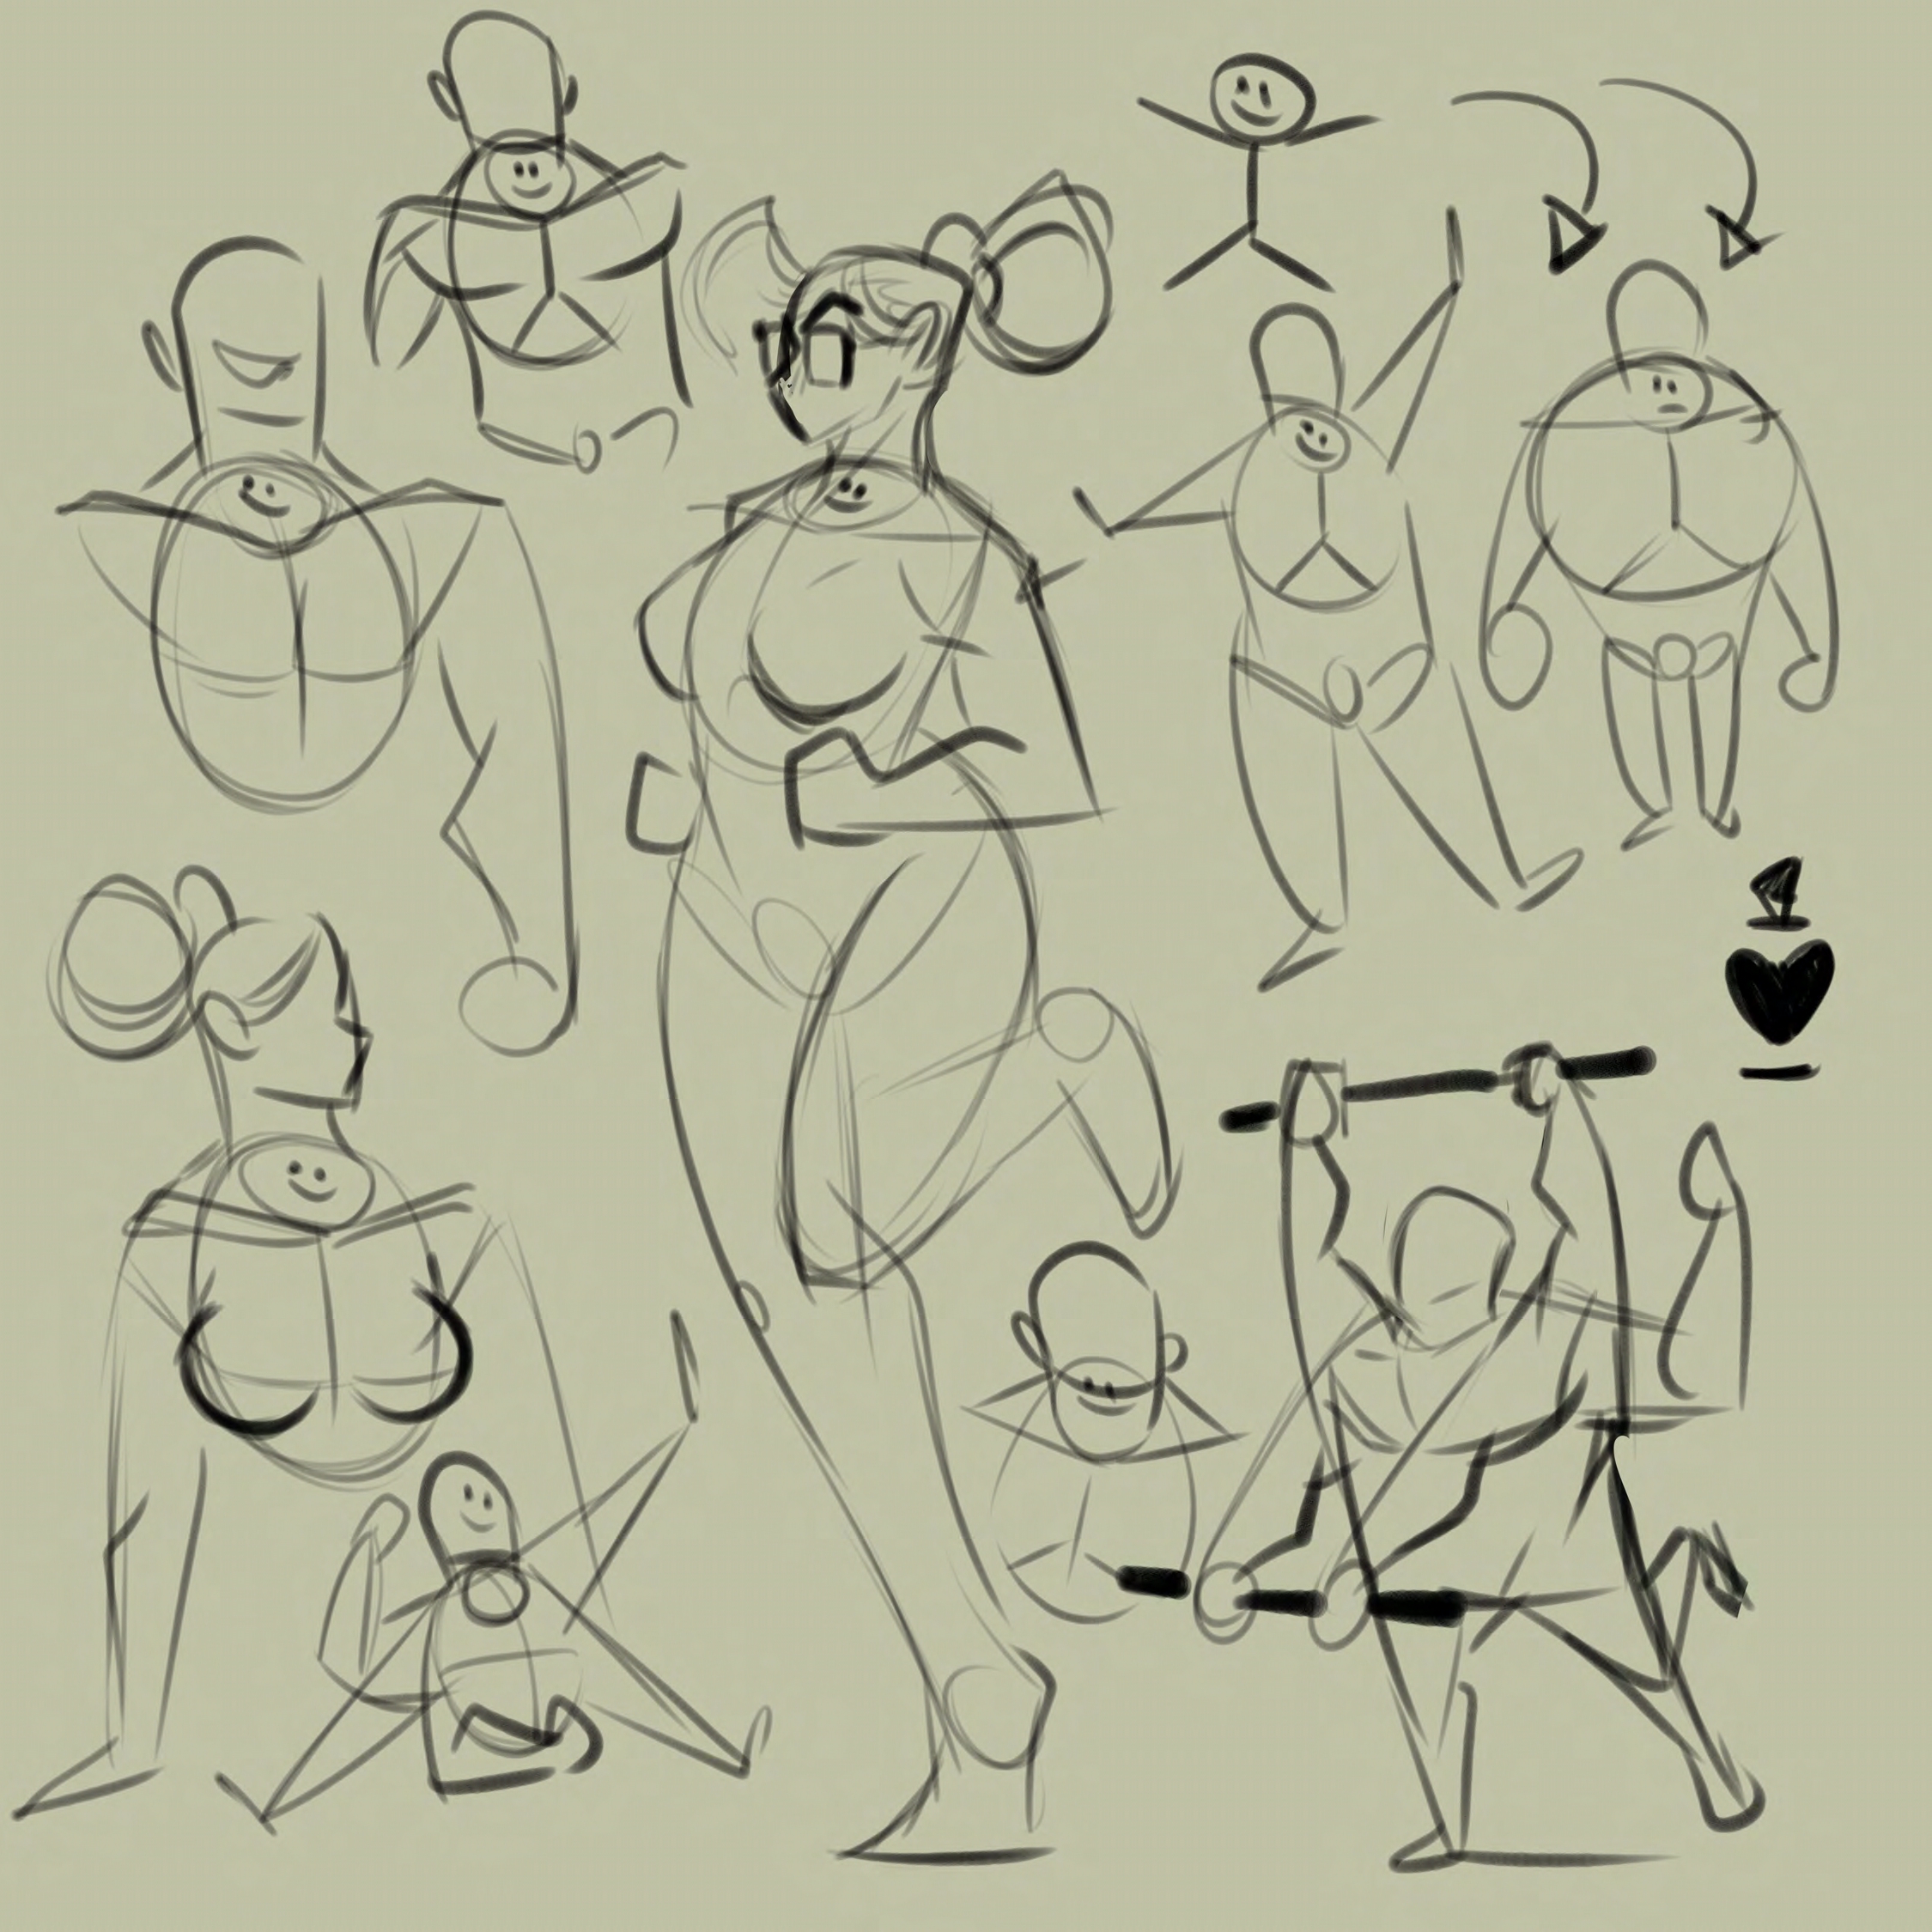
So next time you're drawing a torso, ask yourself:
What's stretching? What's compressing? And how are those two big forms working together?
3. Figure out where the weight is going
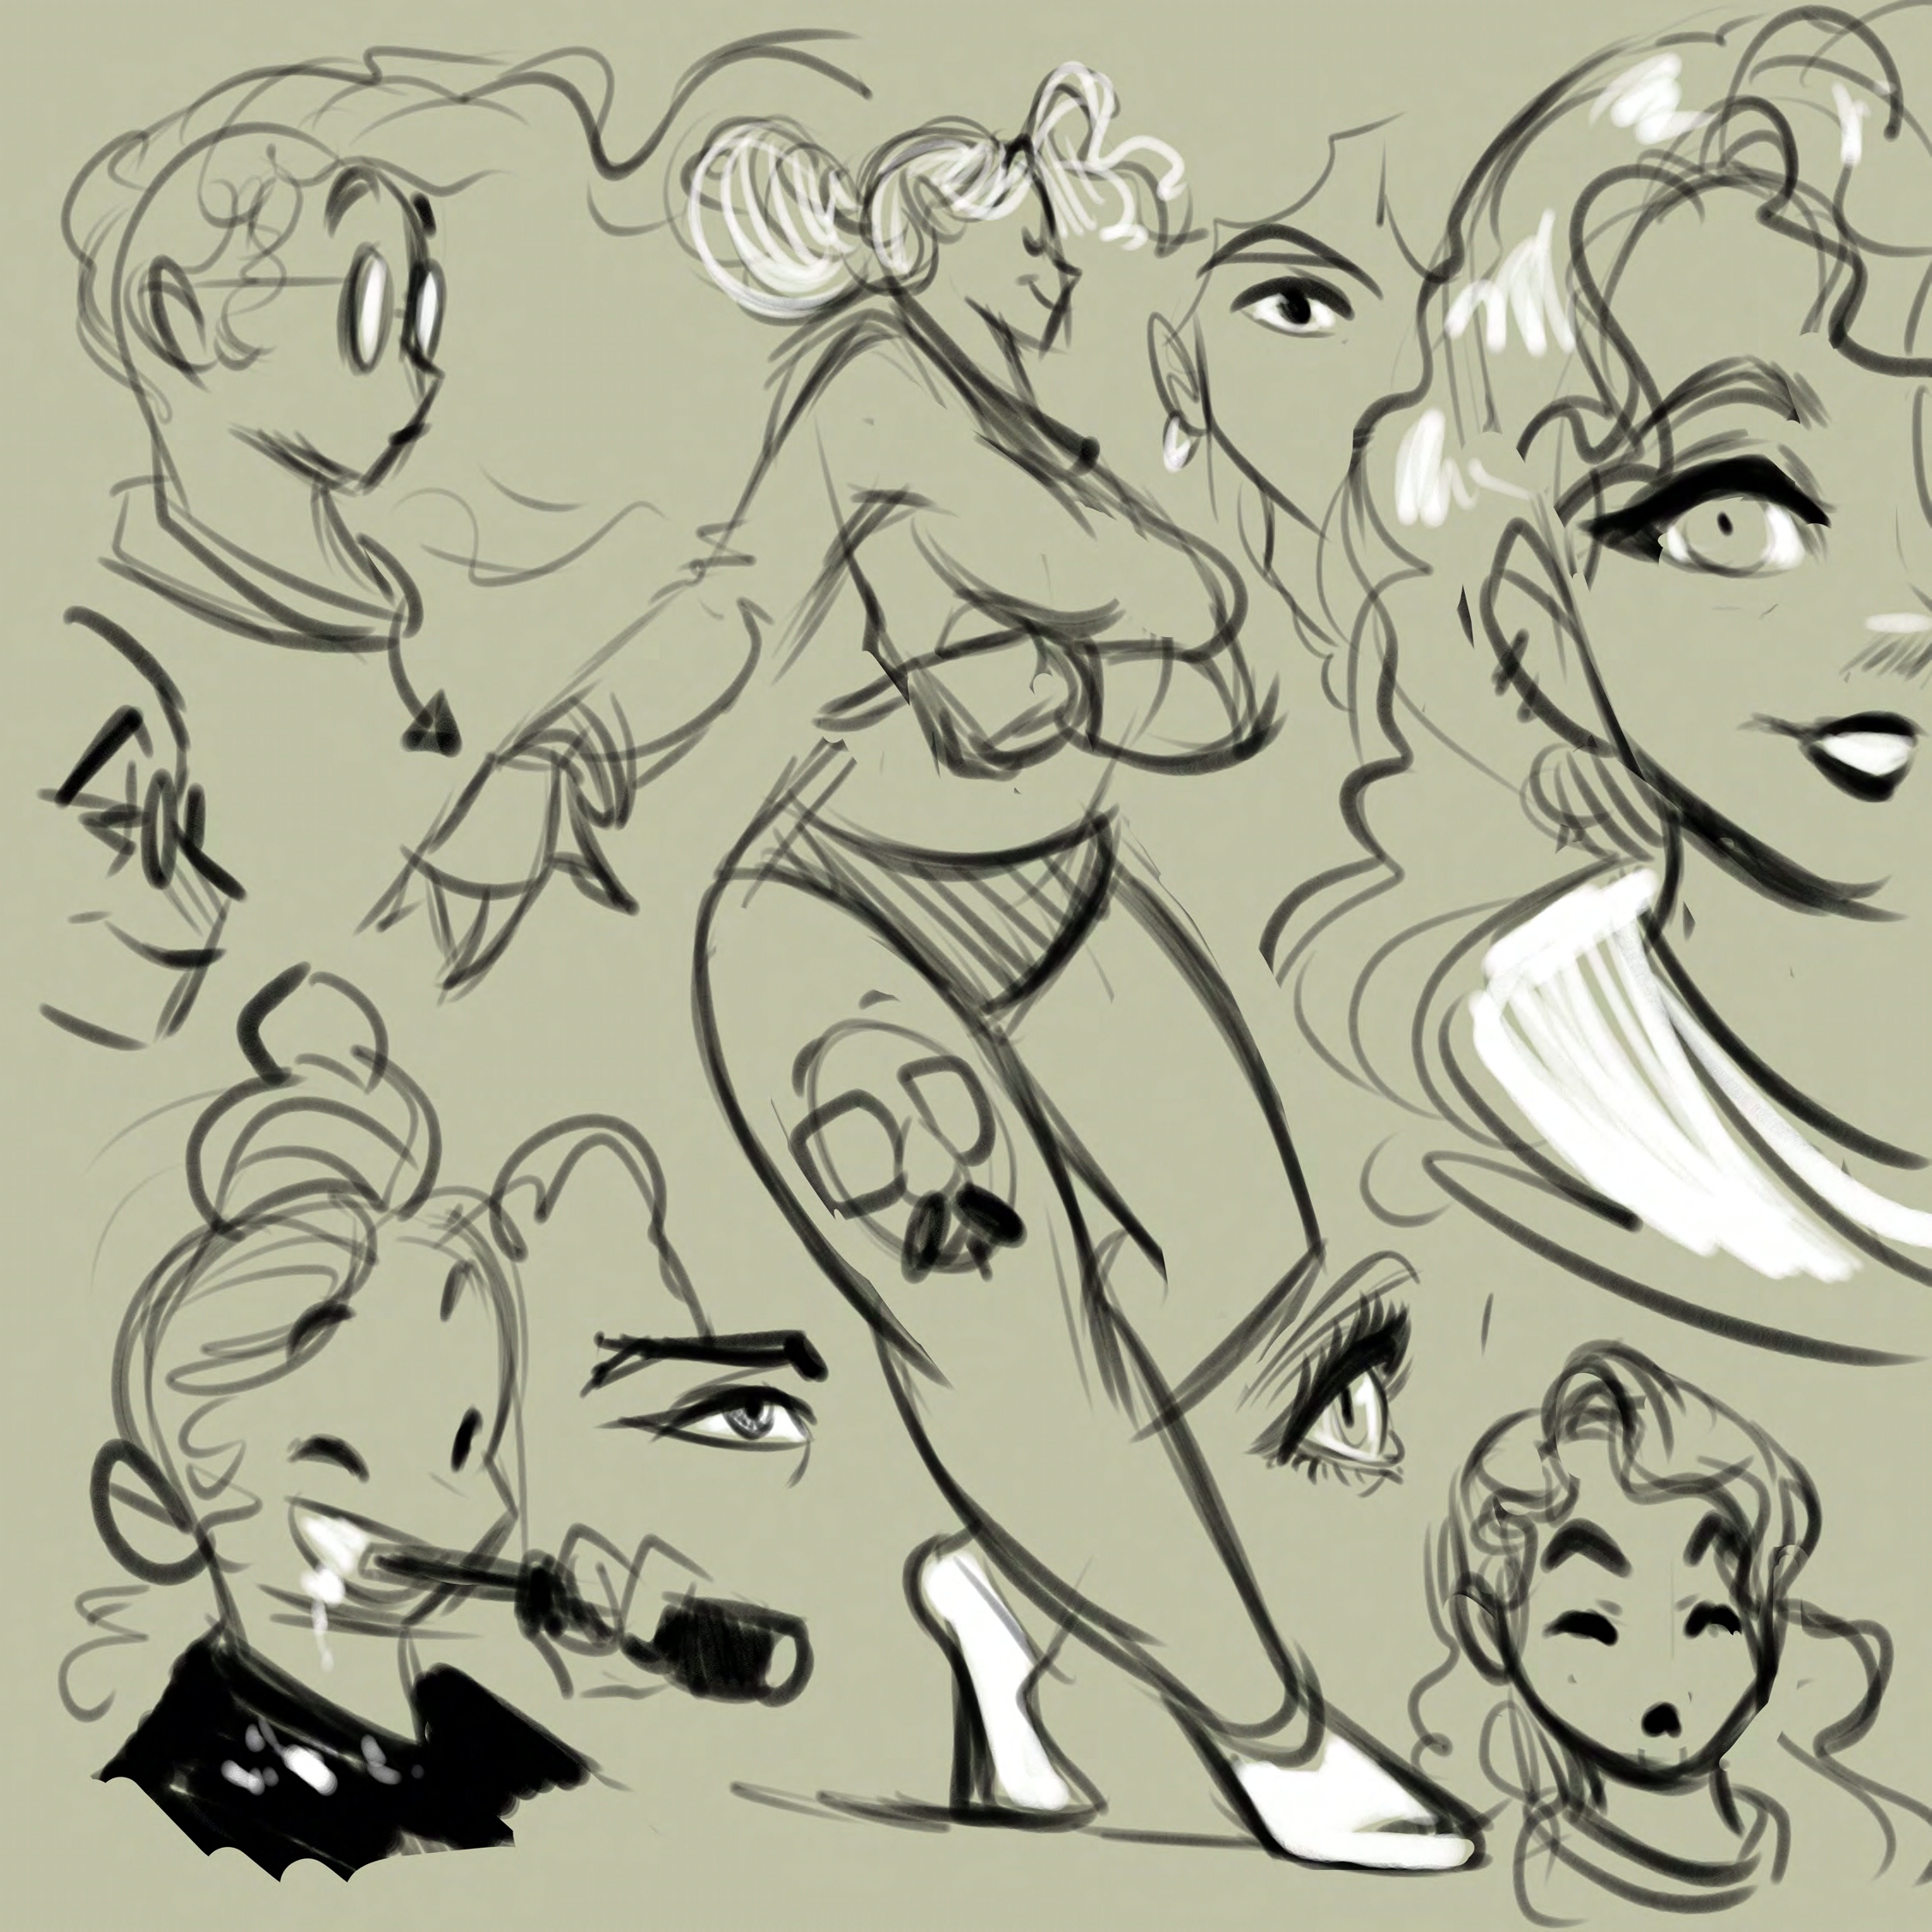
Now, let's talk about another thing I love to check: weight distribution!
Imagine your character is standing with most of their weight on one leg.
What happens to the hips? How does the upper body respond? What is keeping that character balanced?
Sometimes a pose looks stiff because we're so focused on drawing all the body parts that we forget to think about how they're working together.
And you don't always need some crazy, exaggerated action pose to make your character feel alive!
A small shift in weight, a tilt of the hips, or a change in the shoulders can already give your drawing so much more personality.
Try looking at your character's supporting leg and see how the rest of the body connects to it.
4. Build the rest of the body from there
Once I have the rib cage, pelvis, and general gesture figured out, I can start connecting everything else.
The arms, legs, shoulders, and waist all become part of that structure.
This is one of the reasons I love teaching drawing with simple shapes.
You can take those forms, move them around, rotate them, and start creating all kinds of different characters without having to figure out every single muscle right away.
And as you become more comfortable with those connections, you'll have a lot more freedom to experiment.
Which brings me to my favorite part…
5. Have fun with the proportions!
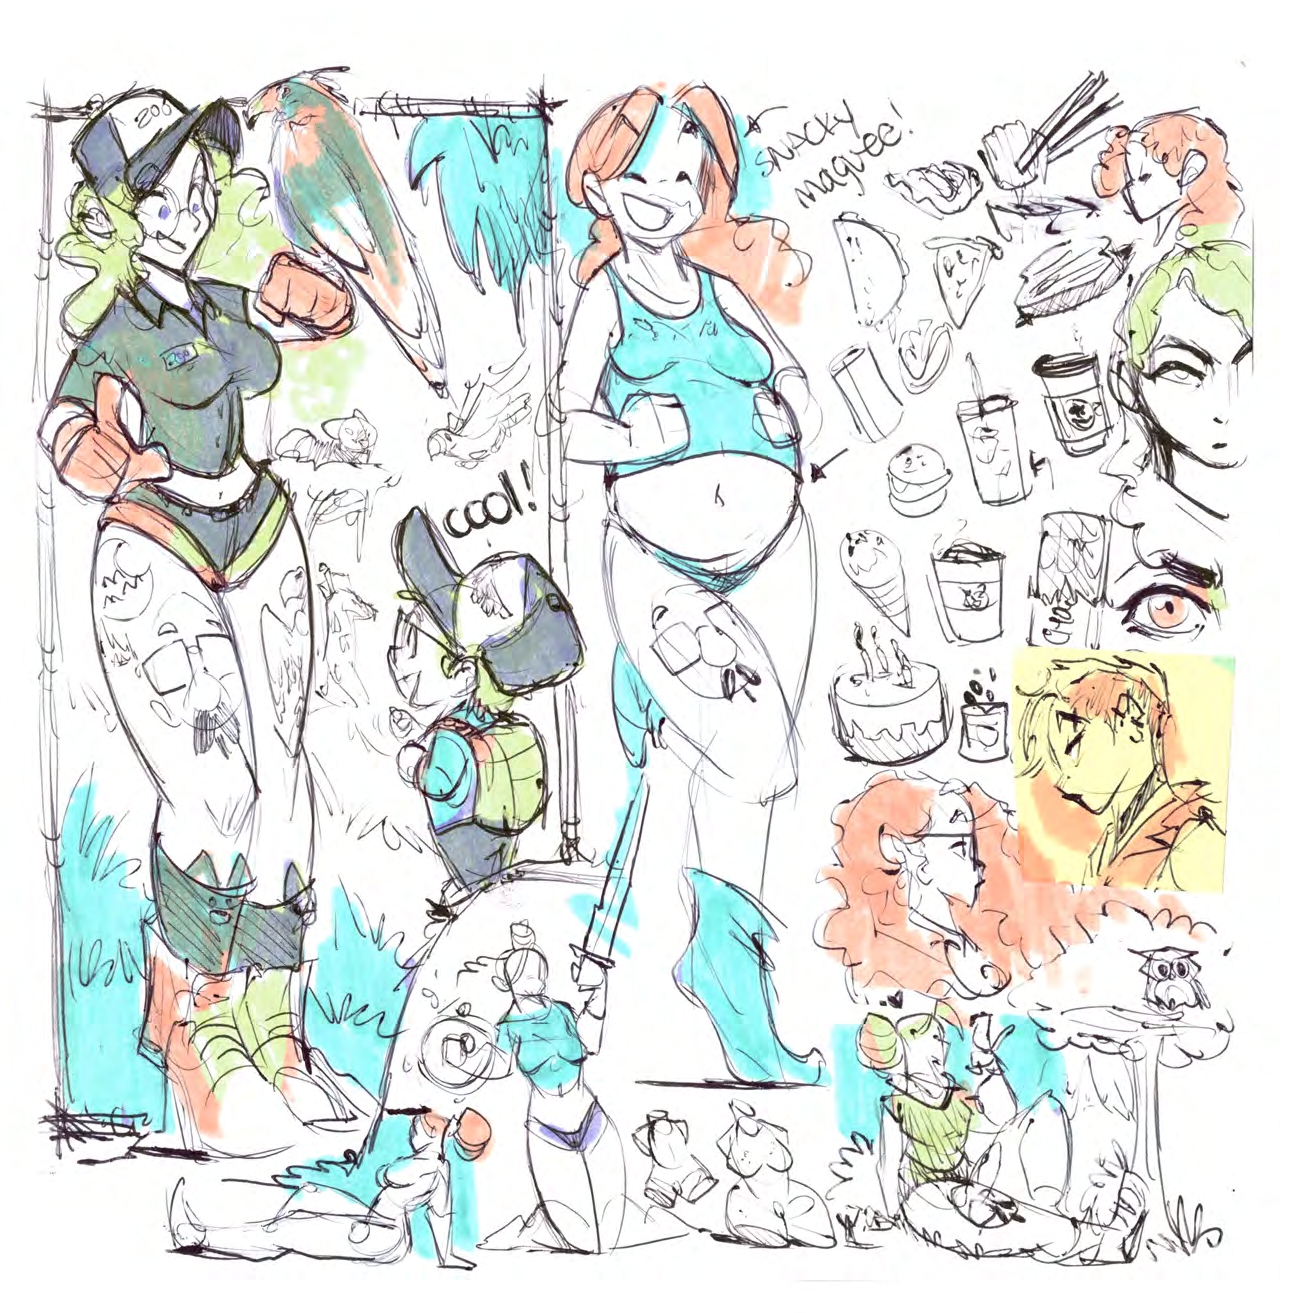
Now we get to play! 😄
Maybe you wanna make the legs longer, exaggerate the hips, create a stronger silhouette, or give your Pin-Up a completely different attitude.
Go for it!
Try making those changes one at a time and see what happens.
You can draw the same character with different proportions and end up with a bunch of unique designs.
That's one of the things I enjoy most about drawing Pin-Ups. There are so many possibilities once you start exploring the shapes!
A little drawing exercise for you!
Alright peeps, grab your sketchbook!
Here's something you can try the next time you're working on a Pin-Up:
Step 1: Draw a simple rib cage and pelvis. Don't worry about details.
Step 2: Give the pelvis a slight tilt and decide which leg is supporting the weight.
Step 3: Connect the rib cage and pelvis. Pay attention to where the waist compresses and stretches.
Step 4: Draw the same pose again, but change the tilt or rotation of one of those shapes.
Step 5: Pick your favorite version and start turning it into your own Pin-Up character!
Have some fun experimenting with the shapes and see how many different poses you can come up with.
And remember, the goal is to understand what those forms are doing so you can start making your own creative decisions!
Wanna practice this with me LIVE?
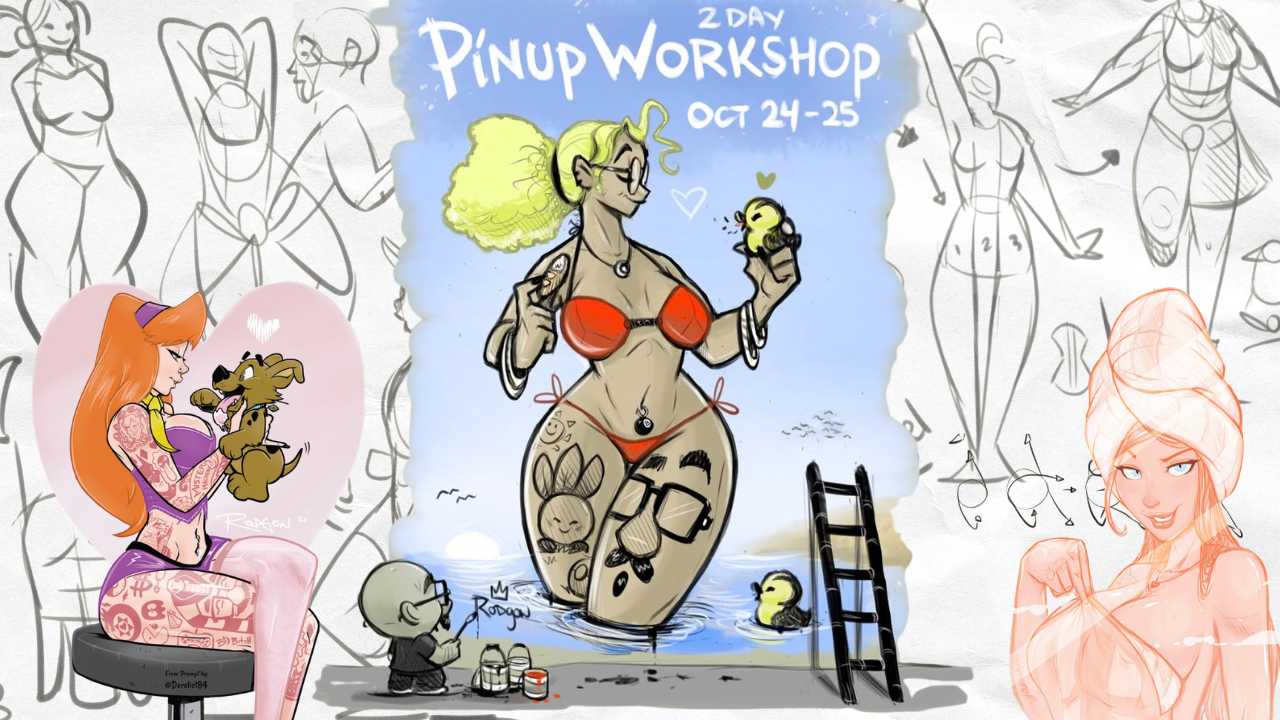
If you've been working on your Pin-Ups and you'd like a little help figuring out those poses, proportions, and body connections, I've got something special coming up!
My 2-Day LIVE Pin-Up Bootcamp is happening October 24 & 25!
We're gonna spend two days drawing together and exploring everything from basic construction to stylized character design.
Day 1 — Structure & Anatomy
We'll work on building the body, understanding anatomy, and making those poses feel more natural and dynamic.
Day 2 — Style & Design
We'll take everything we've learned and start having fun with proportions, shapes, silhouettes, and character design!
And here's one of my favorite parts about doing this LIVE.
You can bring your own Pin-Up drawings, ask questions, and get feedback from me as we go!
Yep, even those Pinuptober sketches you've been working on!
I'm keeping the group small so I can spend more time helping you guys. Plus, you'll get lifetime access to the recordings AND my full previous Pin-Up Workshop, so you'll have even more material to keep studying afterward!
October 24 & 25 · 10 AM Pacific Time
There are only a few spots left, my friends!
COME DRAW WITH ME: JOIN THE LIVE PIN-UP WORKSHOP
Until then, keep experimenting with those shapes, keep practicing, and most importantly, have FUN with your drawings!
Happy drawing! ✌️
Your Favorite Art Teacher, Rod